Step-by-Step Guide to Making Bath Bombs Perfectly Every Time
SUBSCRIBE TO OUR BLOG
Promotions, new products, and recipes.
Tired of spending a fortune on ready-made bath bombs in stores? Then create your own soothing, fizzy and aromatic bathing sensation at home with this guide that will show you how to make the perfect homemade bath bombs. It’s simple but rewarding as not only do you save money but also know exactly what is going into them! Explore the world of handmade baths for an unforgettable experience.
This tutorial covers everything from necessary ingredients to picking out suitable molds and solving any dilemmas along the way. Your friends and family won’t believe they are handcrafted, impress them with exquisite DIY creations today.
Key Takeaways
-
Step-by-step guide to making bath bombs with essential ingredients, baking soda and citric acid, and optional additives.
-
Choose the right molds (silicone/plastic/metal/household items) for desired results.
-
Create custom recipes by adjusting ingredient ratios and scent combinations. Store in airtight containers for highest quality and shelf life.
-
Gift creatively for a thoughtful present.
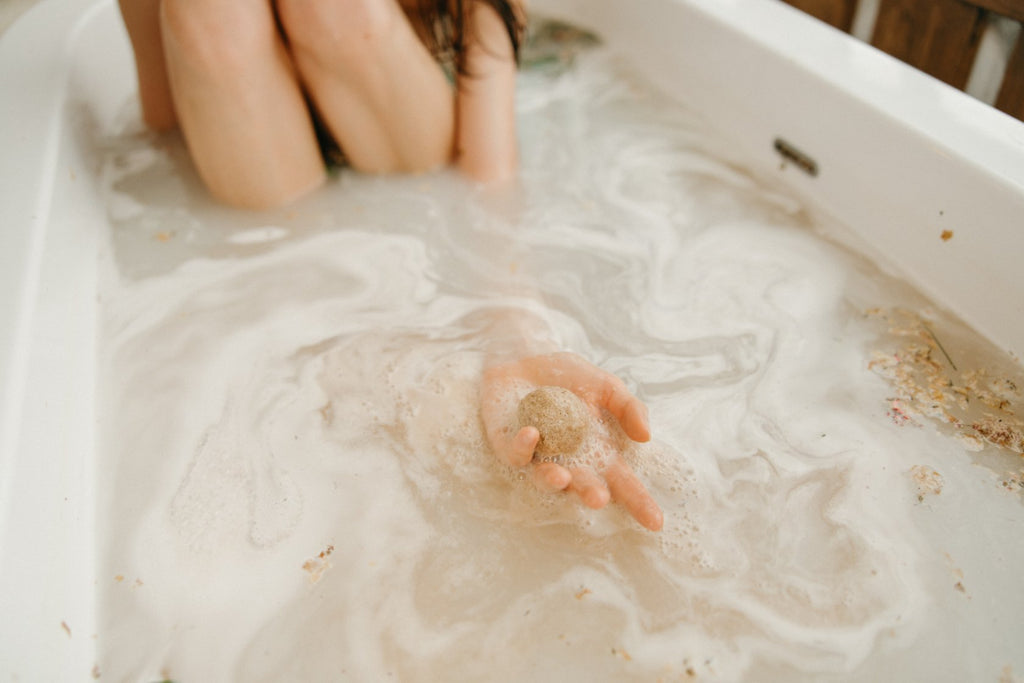
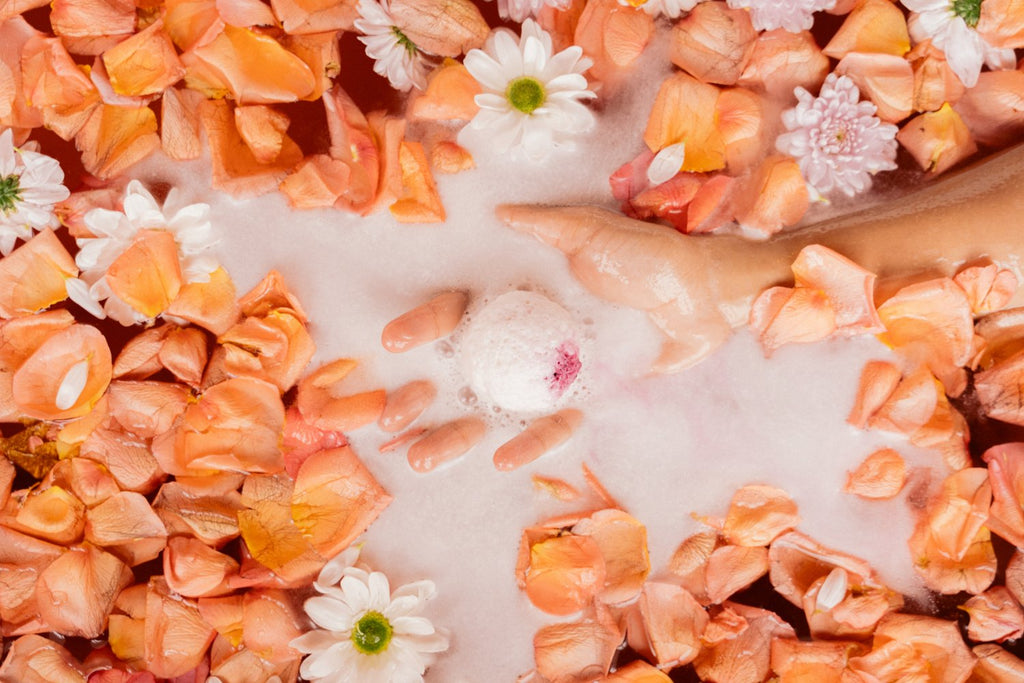
Homemade bath bombs can be a great alternative to store-bought options, allowing you to choose the highest quality ingredients for your skin and save money. Knowing how to mix dry and wet components as well as properly use essential elements such as baking soda, citric acid, essential oils, carrier oil along with suitable molds (silicone ones being popular) is key in order create amazing bathing experiences. Here are some tips on making perfect bath bombs every time: pay attention when combining all of these substances together, this will lead us one step closer towards crafting fizzy fragrant products.
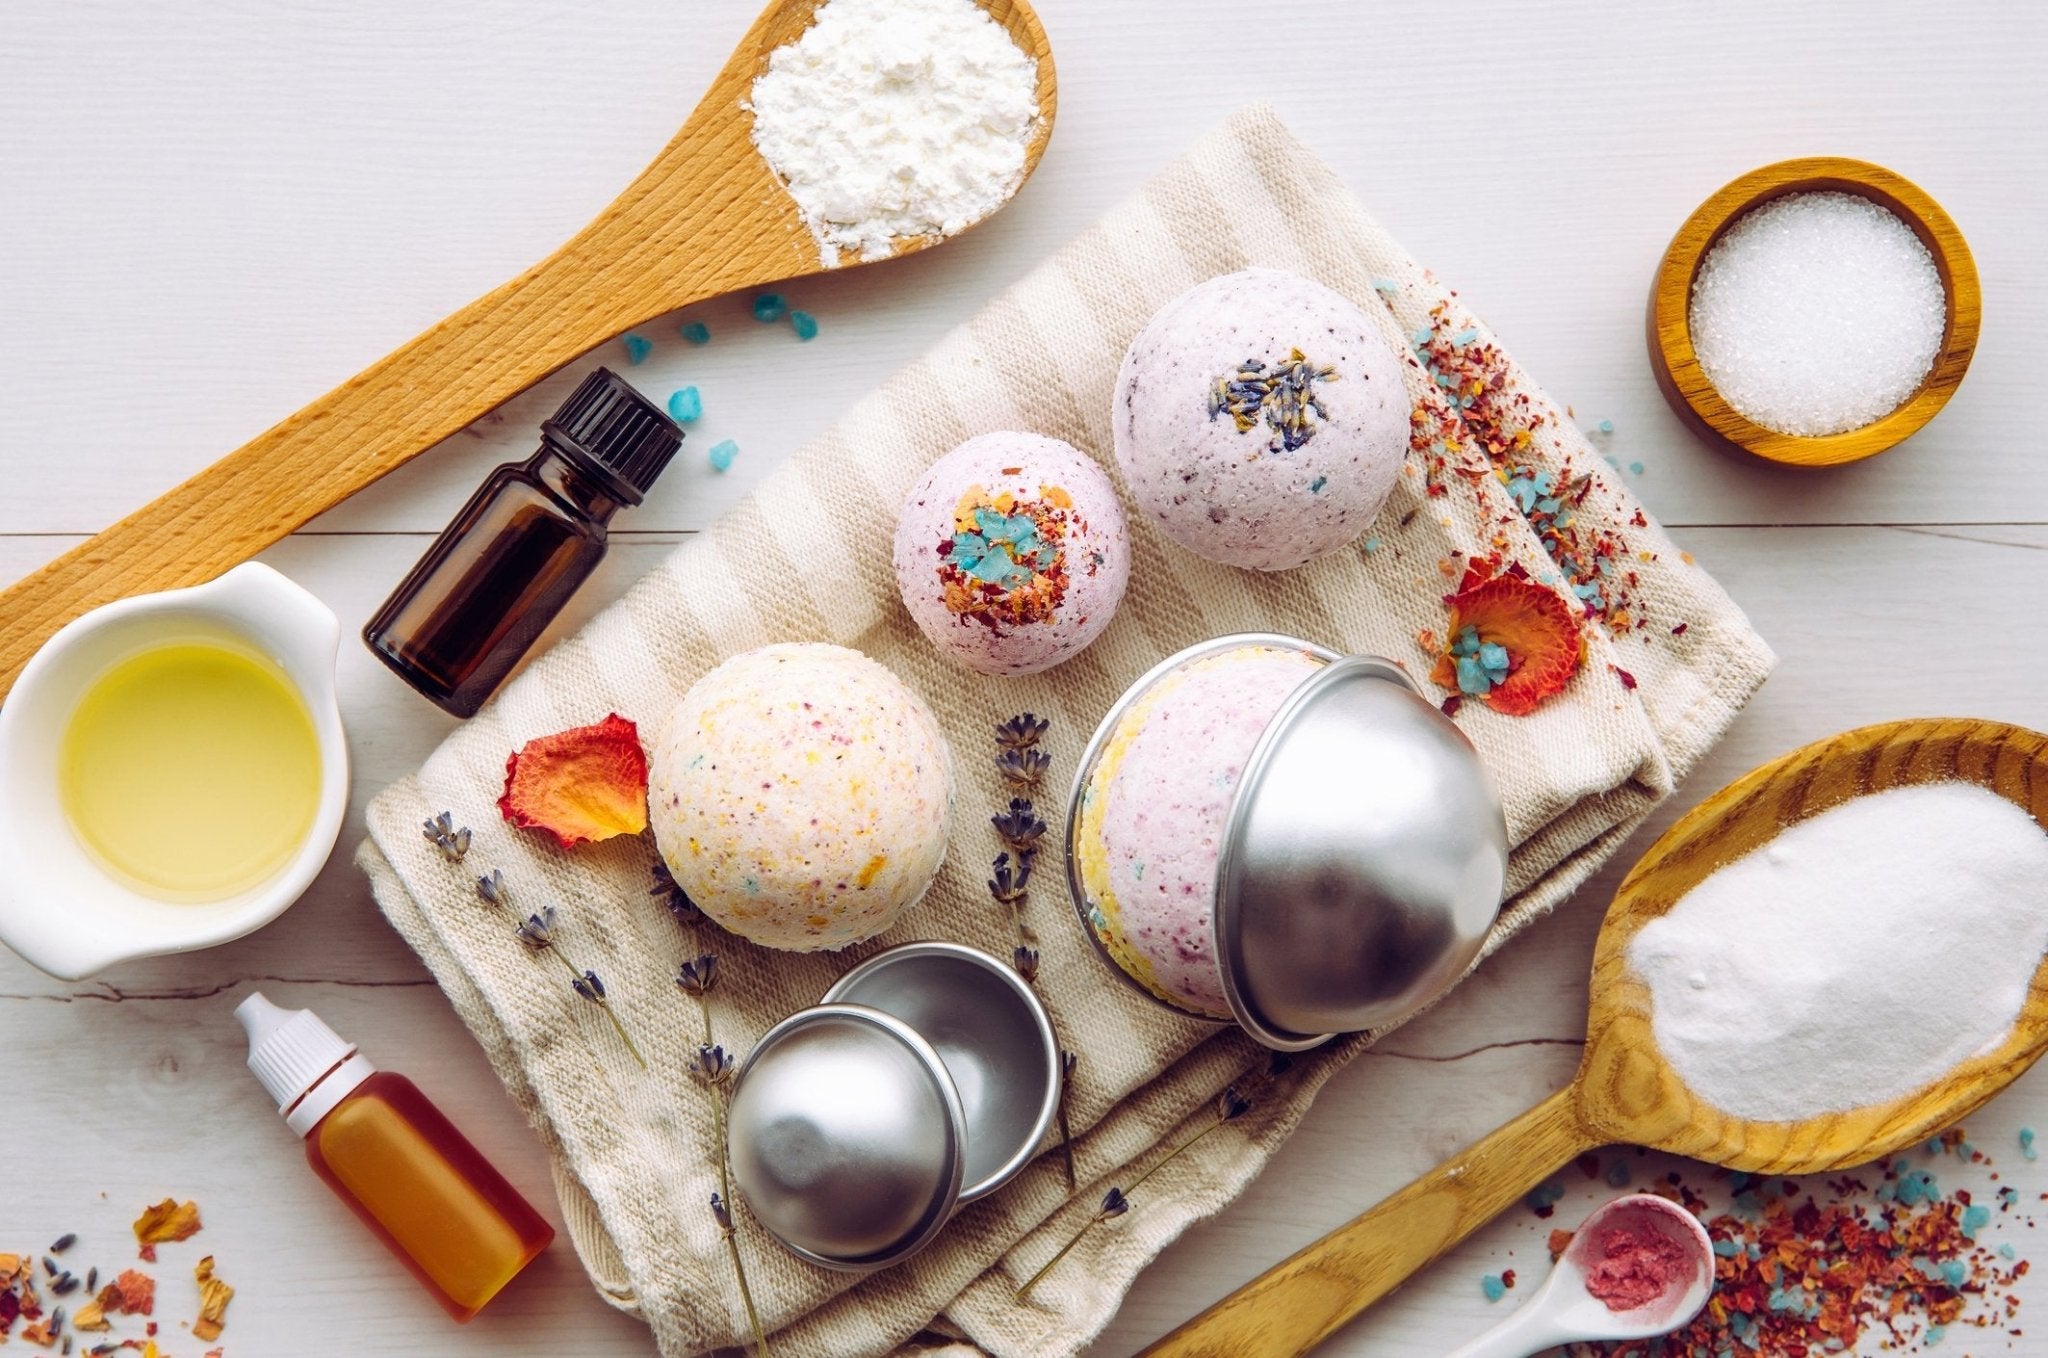
Essential Ingredients for Homemade Bath Bombs
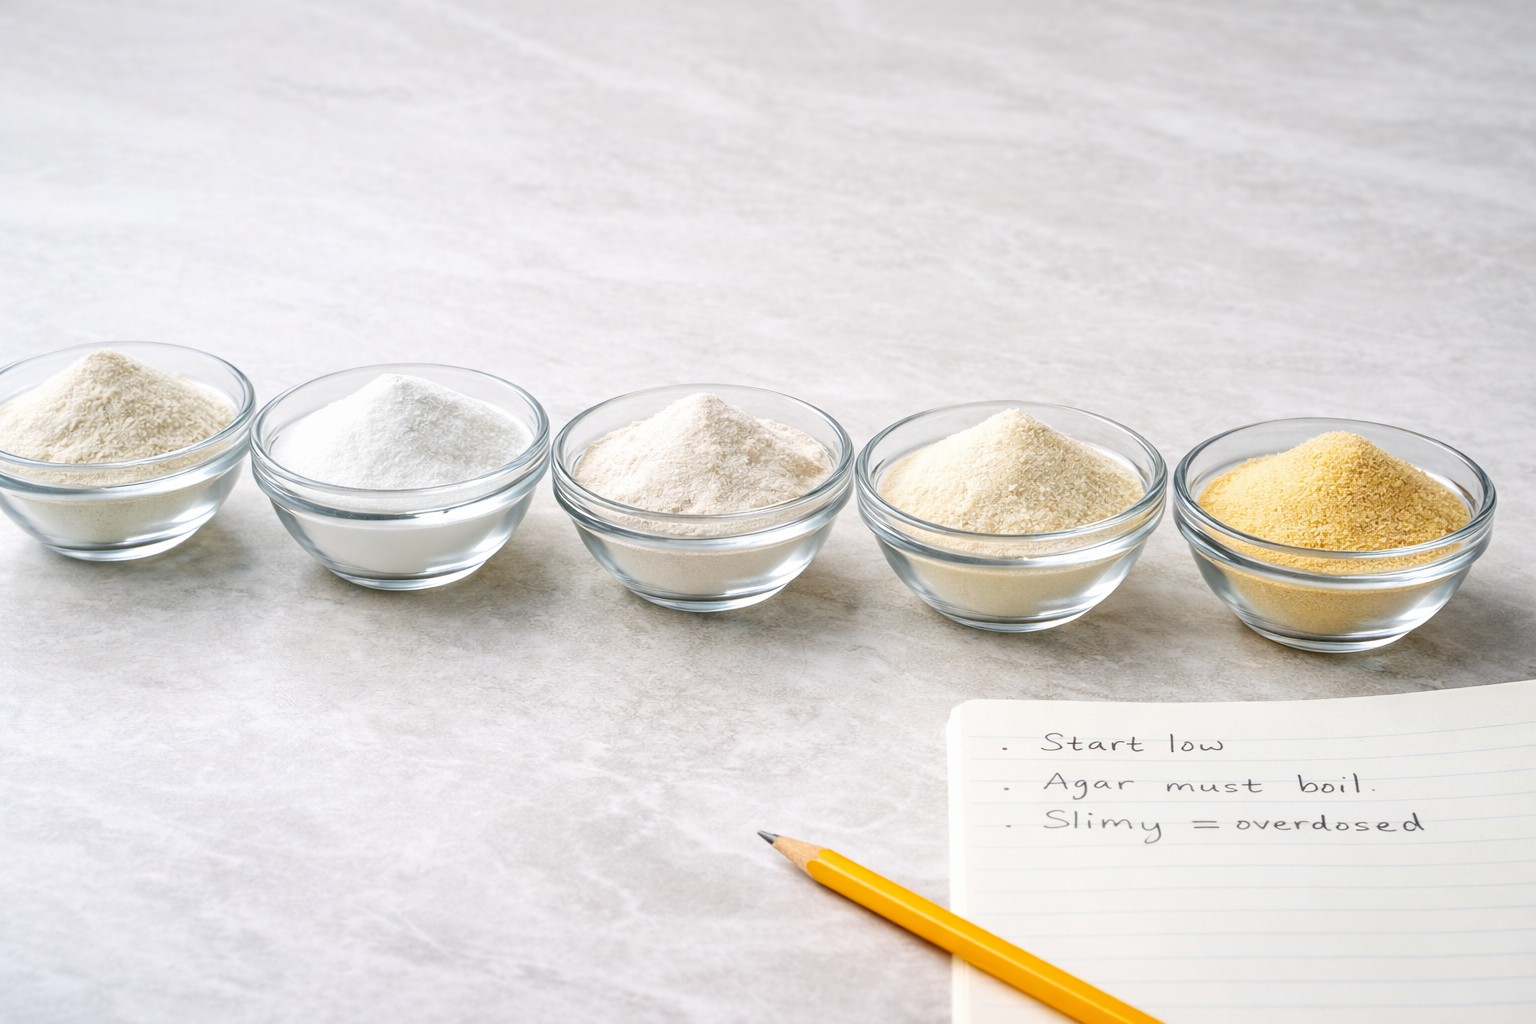
If you want to make the perfect homemade bath bombs, then baking soda, citric acid and essential oils are your key ingredients. Carrier oil is also necessary in order to help moisturize the skin while bathing. With these four primary components combined together correctly they will create a luxurious fizzing experience that offers wonderful aromas too!
There are many optional additions one can use when making their own personalized bomb which can add even more benefits such as Epsom salt for relaxation or cornstarch for smoother texture of the product. You may wish to choose natural colourings if desired but be aware this could cause staining on surfaces it comes into contact with so exercise caution at all times.
When experimenting with different mixtures ensure that you have taken into account any sensitivities or allergies you have before usage- best practice would say do patch tests first. Alternatively there’s always an option just buy pre made products from various retailers, most stock quality items tailored towards individual needs without having go through whole process yourself.
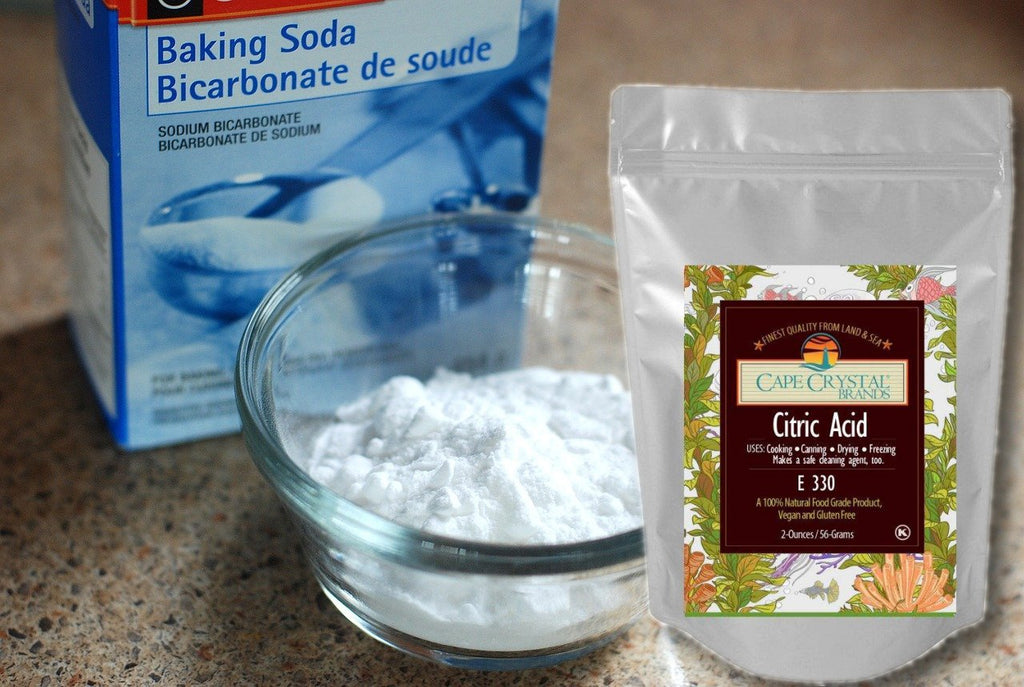
Baking Soda and Citric Acid
When making homemade bath bombs, the key ingredients are baking soda and citric acid. This particular combination results in a chemical reaction when placed into water that creates an effervescent experience for anyone taking a soak. Usually one part of citric acid to two parts baking soda is used. Citrus fruits such as oranges or lemons are where this form of acid is made but it’s considered safe enough for use with your own bath bomb creation at home. With the right ratio, combining these two components will yield the fun fizz you’d expect out of your favorite bubble-filled treat.
Essential Oils and Carrier Oils
In creating bath bombs, the addition of essential and carrier oils impart a delightful aroma as well as moisturizing properties. Fragrant essential oil selections such as lavender, jasmine or eucalyptus blend beautifully with the nourishing effects of carrier oils like almond oil and coconut oil to leave skin feeling soft after bathing. If using citrus-based ingredients it is necessary to be aware that some people can be sensitive so diluting them in small amounts with a base would help prevent any reactions occurring. There are virtually endless possibilities when selecting different combinations of these two elements thus allowing you to make unique bath bombs according to your preferences.
Optional Additives
For a luxurious and personalized bathing experience, consider incorporating optional additives into your bath bomb recipe. This can include Epsom salt to soothe tired muscles. Cornstarch which will slow down the reaction between baking soda and citric acid, creating an even fizz in the tub. As well as natural colorants such as beetroot powder or activated charcoal for added visual appeal without using synthetic dyes.
It’s important to mix these ingredients with dry components of the formula prior to combining them with wet elements for best results when crafting up bath bombs from scratch. By adding various additivies you’re able customize your creation resulting in amazing outcomes every time!
Choosing the Right Bath Bomb Molds
When it comes to crafting the perfect bath bomb, picking the ideal mold is essential. From silicone molds and plastic forms to metal, to everyday objects like ice cube trays or muffin tins, there are plenty of options on offer for forming your bombs. Weighing up what each type has its pros and cons can help you make an educated choice when selecting a shape for your beauty product needs.
This article explores all that goes into deciding which kind of mold fits best with the bath bombs one desires to create. Taking features such as price point into consideration before making a commitment helps ensure satisfactory outcomes in producing desirable bathing treats!
Silicone Molds
Silicone molds are a great option for anyone who wants to make bath bombs that look professional. These molds offer the advantage of being durable, flexible and easy to use, so removing the final product is no issue! These may cost more than other types and require careful packing in order for your mixture not to crumble or crack. If you’re looking for high quality results without compromising on time investment then silicone could be exactly what you need.
Metal Molds
Metal molds are very sturdy. They create clearer and more precise shapes that may be difficult to create with other materials. They can be vigorously tapped to demold. But care must be taken as they can rust if not kept dry.
Plastic Molds
Using plastic molds for creating bath bombs is a more wallet-friendly option, especially ideal if you’re on a budget. While they are not as pliable as silicone ones, taking the finished product out of them isn’t difficult either. There’s one drawback – their durability and resistance to high temperatures may be inferior compared to silicone molds. All things considered though, for anyone looking for an affordable alternative when making bath bombs at home: plastic mold seems like the right choice.
Household Items
If you are looking for a way to make bath bombs without investing in dedicated molds, don’t worry. There are still plenty of options. Using everyday items like muffin tins, measuring cups and ice cube trays can create unique bomb shapes while keeping costs low. Although not as professional-looking or uniform as those from mold tools, these DIY versions will be just as fun and functional.
Using your creativity combined with some creative equipment already lying around the house gives an opportunity to experiment with this craft at no extra cost – which is great news when it comes to budgeting.
Creating Your Custom Bath Bomb Recipe
Once you have a good understanding of the components, molds and techniques essential for creating bath bombs, it’s time to get creative. By changing up ratios between baking soda, citric acid, carrier oils and essential oils you can make your own recipe that caters exactly to what appeals best to yourself. Playing around with different scent combinations is something else that will produce unique personalized results as far as these kinds of products are concerned! But this brings us into wondering: just how many possibilities do we actually have when deciding on the scents? Well basically an infinite amount could be reached here since they really depend solely from individual decisions alone.
In the following paragraphs are tips for making your personal batch bomb mix along with ratio levels together, plus mixing methods will be revealed so stay tuned.
Ingredient Ratios
Making sure the correct ratios for dry and wet ingredients are used is essential to make bath bombs that meet desired results. It’s recommended to use one part citric acid and two parts baking soda in the dry mix, as well as 1 to 0.5 ratio of oil-to-water in your liquid solution. Following these instructions can guarantee a satisfactory reaction from your fizzy treats. Excess liquids should be avoided since too much may lead to crumbling or underwhelming fizziness.
Scent Combinations
When creating bath bombs, there are no limits to what scent combinations you can try. Essential oils come in a wide variety of fragrances and choices that give plenty of options for customizing your own recipes. Examples include the fusions of lavender/peppermint, lemon/rosemary or grapefruit with bergamot mix. Get creative while mixing scents together. Just make sure to remember to dilute essential oils using carrier oil before adding only a few drops at once – so as not to cause any skin irritations or allergies.
Step-by-Step Bath Bomb Making Process
Now that you understand the required components, molds and special recipes to craft your own bath bombs, it’s time to get started. From mixing wet and dry substances together to filling up the chosen mold form before leaving them out for drying, each step is indispensable to guaranteeing successful homemade bath bomb results.
The succeeding sections will provide comprehensive instructions on how exactly each stage of crafting should be done to obtain the ideal fizzy-smelling beauties. Creating well designed fragrant bath bombs shouldn’t seem too hard anymore.
A DIY Bath Bomb Recipe
Ingredients
- 2 cups Baking Soda (Bicarbonate of Soda)
- 1 cup Corn Starch
- 1 cup Citric Acid
- 1 cup Epsom Salts
- 4 tsp Sweet Almond Oil
- 4 tsp Fragrance or Essential Oil (Your Choice)
- 2 tsp Distilled Water
- A few drops of Liquid Soap Dye (or food coloring)
Instructions
- Add the dry ingredients in a bowl, (baking soda, corn starch, Epsom salts). Leave out the citric acid for the time being.
- In a separate bowl, add in the wet to include any food color or soap dye.
- Add the wet ingredients to the dry ingredients slowly a little at a time. Mix the ingredients well using your hands.
- Work the ingredients, until you get a texture of wet sand. The mixture should stick together.
- Now you add in the citric acid. Use gloves to continue to mix the ingredients as the citric acid can be an irritant at this point,
- Pack both halves of the mold with the mixed ingredients.
- Once packed, press the two halves together tightly so that the mixture bonds to each side. After a few moments, you can remove one half of the mold.
- Set the exposed half into a muffin tin to dry.
- Allow the bath bombs to dry for at least 24 hours, but 48 hours is better.
Mixing Dry and Wet Ingredients
Creating bath bombs begins by blending the wet and dry components together. Start with the above bath bomb recipe, then put all of your dry ingredients - baking soda, citric acid plus any optional extras, into one large mixing bowl. In another small bowl mix your wet elements such as essential oils, carrier oils along with colorants that are in liquid form. Gradually pour the moist substances into the mixture of dried items while stirring constantly to avoid premature activation from citric acid content . Keep incorporating until you get consistency similar to damp sand. Remember it is better to add less liquid at first since more can always be added if needed later on for desired texture/consistency regarding this specific DIY bath bomb project or other recipes following this same base process for making homemade bombs.
Filling the Molds
Once you have prepared the bath bomb mixture to an optimal texture, it is time to fill in your mold. If needed, oil or cooking spray can be utilized as a light coating for your molds (mold release) so that removing the finished product will not prove difficult later on.
When filling up each side of the two-part mold with spoonfuls or packing them firmly together with hands, make sure there’s some extra overfill so when they are joined no excess remains and a seamless bond forms between both sides.
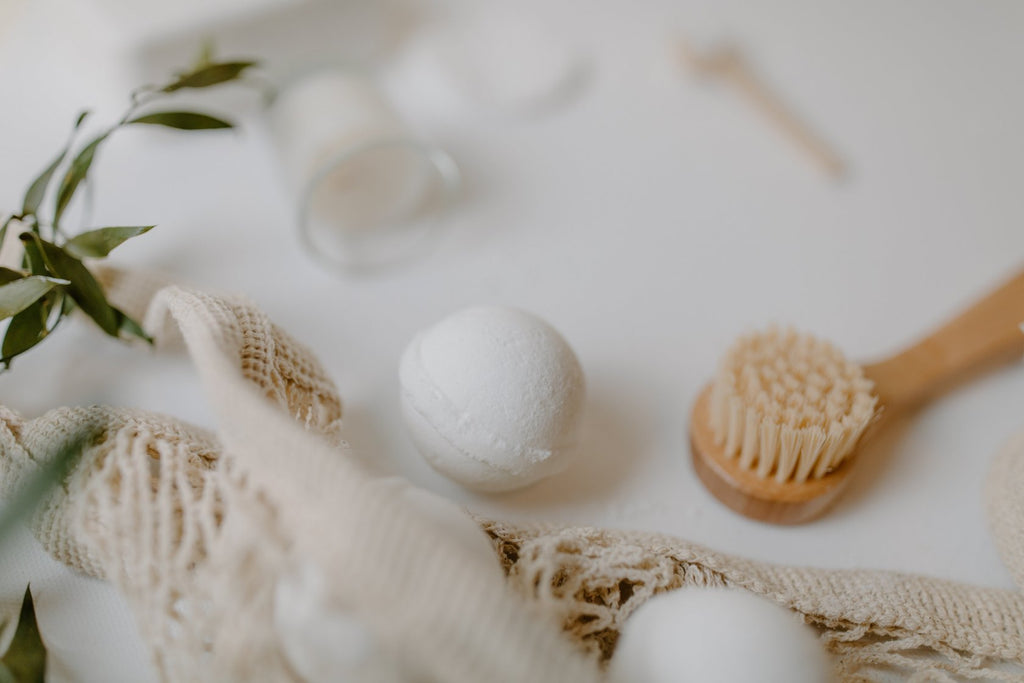
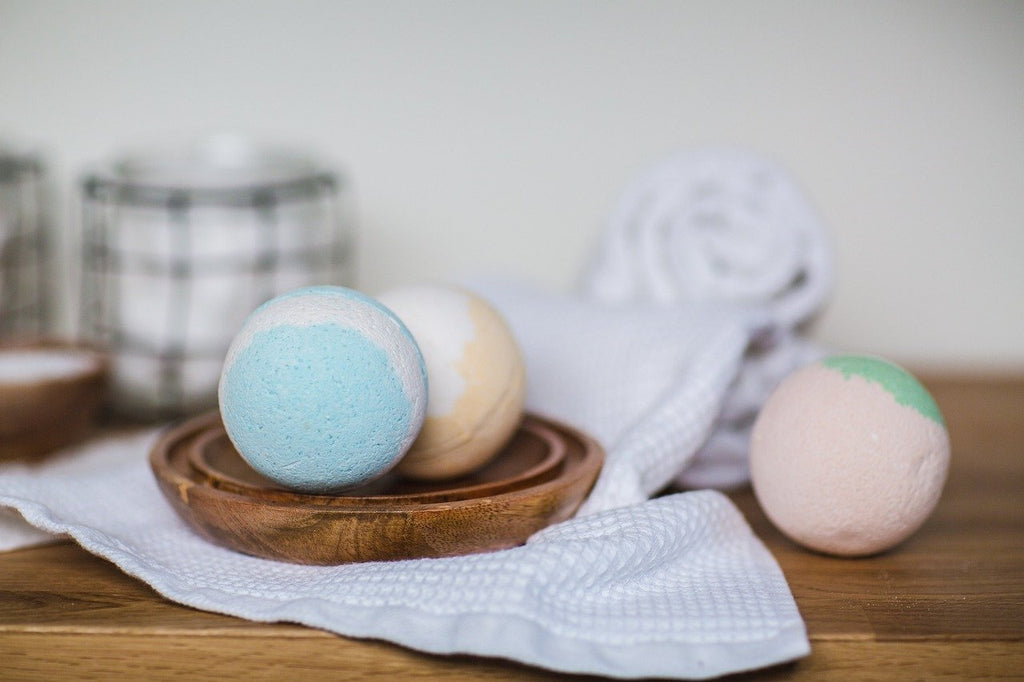
Drying and Unmolding
Once you’ve finished filling up the molds, it’s essential to let your bath bombs dry. Allow them at least a day before taking them out of their containers. To safely remove the bath bomb from its mold, carefully tap on it so that no damage or breaking occurs while unmolding. After extraction from the mold, keep these items drying for one more day in order to make sure they are totally ready either for immediate use or storage purposes.
By sticking with this routine you guarantee an ideal bathing experience every single time as all shapes and fizziness will remain intact.
Troubleshooting Common Bath Bomb Issues
No matter how hard you try, there could still be issues in making bath bombs like crumbles and a lack of fizz. Fear not though. These can certainly be fixed through some troubleshooting tricks.
In the following parts, we will discuss ways to deal with usual obstacles when creating perfect bath bombs each time.
Crumbling Bath Bombs
If your bath bombs are crumbling, it is likely that the recipe was too dry or not packed enough in the mould. You can rectify this by adding some additional liquid and packing them more tightly into shape. Even after doing so, if you still find crumbled pieces then possibly adjust proportions of baking soda to citric acid as required for a stable outcome. Try various combinations and methods of tight pressing until desired results are achieved.
Lack of Fizz
If your bath bombs aren’t producing the amount of fizz you’re after, it’s likely down to either an incorrect ratio between baking soda and citric acid or too much oil being used in your recipe. To increase this effect, try raising the quantity of citric acid and/or reducing any oils present within its ingredients list. Doing so should lead to higher levels of bubbling which provides a better overall experience when taking a soak in these homemade bath bomb concoctions.
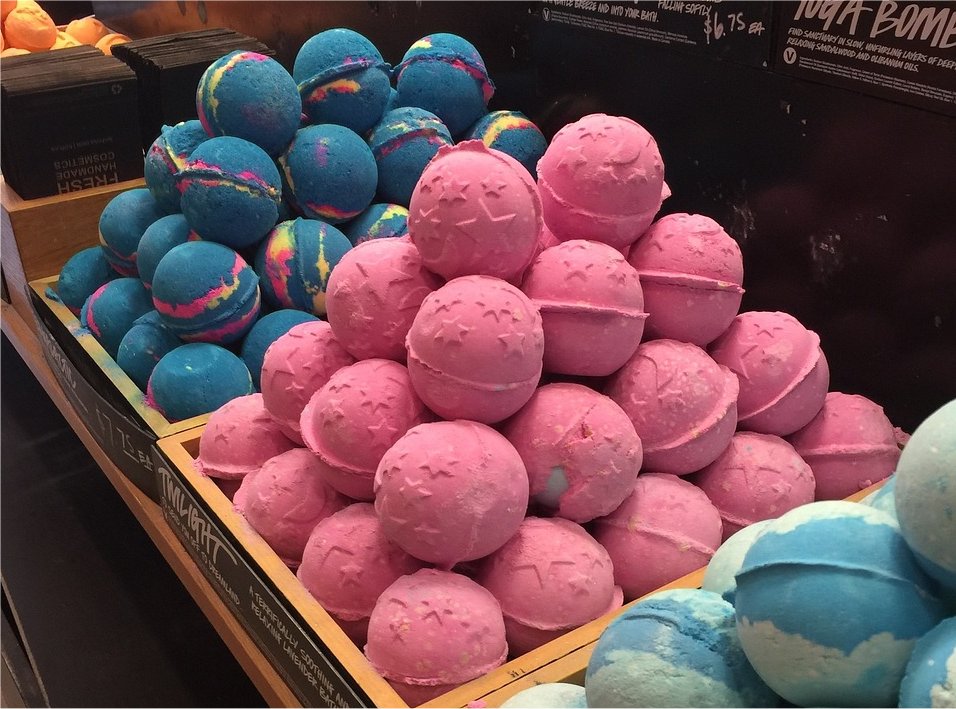
Creative Bath Bomb Ideas and Variations
Once you have the basics of bath bomb making down, it’s time to get creative. From incorporating multiple colors or creating themed designs to filling them with surprises, there are countless options for customizing your bombs and turning each one into something special using different recipes.
In this section we will discuss ways of designing stand-out bath bombs that everyone is sure to love. With a few tips and tricks up your sleeve you can make spectacular homemade creations that people won’t be able forget!
Multi-Colored Bath Bombs
In order to make visually spectacular multi-colored bath bombs, you can use natural colorants such as beetroot powder, activated charcoal and turmeric or liquid food coloring/soap dye. When incorporating the hue agents into your recipe it’s important that they are properly blended with either the dry ingredients (if using a solid substance) or wet components(for liquids).By mixing multiple colors in this fashion, your final product will be both aesthetically pleasing yet relaxing at once.
Themed Bath Bombs
Bath bombs are a creative way to celebrate special events or occasions by using molds in unique shapes, colors and scents that fit the theme. For example, you could make Easter eggs out of bath bombs with light shades and aromas related to springtime. Creating spooky Halloween designs like skulls or pumpkins is also possible! You can express your originality while making these items – don’t be afraid to explore different themes and try something new when crafting them.
Surprise-Filled Bath Bombs
Adding a thrilling twist to your bath bombs will make them more fun and exciting. Inserting a small toy, jewelry item, or other memento inside the mixture before forming it into its shape can provide an extra bit of enjoyment while taking baths. As the bomb fizzles away in water, the surprise element is revealed for all to see. Just be sure that you use non-toxic objects which are specially designed with bathing safety in mind so they do not break off during dissolution, secure placement within the bath bomb mixture should keep this from occurring.
Storing and Gifting Homemade Bath Bombs
Making your own bath bombs is a great way to give beautiful gifts without spending too much money. To keep them in good condition and make sure they’re presented nicely, be sure to store the products in a cool and dry space, with tight packaging such as plastic wrap or containers that close tightly.
For an extra-special touch when gifting homemade bath bombs, put them into decorative boxes or bags along with customized notes for an added personalization. With these simple storage methods you can ensure that your home made treats will stay fresh and look amazing.
Proper Storage
To maintain the quality of your homemade bath bombs, it is important to keep them in air-tight containers or wrapped up with plastic wrap. This will help protect against moisture damage and preserve their fizzing properties as well as overall appearance. For maximum freshness over a longer period, store these bath bombs somewhere cool and dry. This way you can use them for some time before needing to replace them. With proper storage steps taken care of, you’re sure to have an enjoyable relaxing soak whenever desired.
Gifting Ideas
Making homemade bath bombs can be a rewarding DIY project. It’s understandable if you have concerns about the cost or giving them as gifts. This section aims to help by providing answers and advice for frequently asked questions surrounding crafting and using your own bath bombs. We want to give you knowledge so that tackling this fun project is easier! From storage tips to money-saving ideas, we hope these insights will ensure successful results with your handcrafted creations.
For special occasions or just because, giving homemade bath bombs is a kind and budget-friendly way to show someone you care. One option for presenting these handmade products as gifts would be putting them in a pretty container with some tissue paper or bundling them up inside of another gift bag along with items like scented candles and salts. Alternatively, one could construct an entire spa themed hamper incorporating the bath bombs among other indulgent treats that will bring joy to anyone receiving it! With careful consideration put into every detail when crafting your presents, you can create something truly unforgettable using these home-crafted bathroom luxuries.
Summary
In this step-by-step guide, you now have the knowhow to make your own homemade bath bombs that can be as luxurious and fizzy like those sold in high end stores. From indispensable ingredients, ideal molds to inventive concepts along with addressing frequent issues, creating these special bath bomb treats for yourself or someone else is within reach!
So start crafting today by taking advantage of all the tips shared here so you too may experience a pampering soak full of invigorating fragrances made only from scrumptious Bath Bombs created right at home. Enjoy each unique creation and let’s get fizzing.
Frequently Asked Questions
What are the 3 ingredient bath bombs?
The three ingredients in bath bombs are baking soda, citric acid and water. Adding a few drops of essential oil or soap coloring will not affect the pH of the bath bomb enough to support mold growth.
Store it in a jar for anytime use to feel rejuvenated without needing a bath.
What is the secret to making bath bombs?
Getting the best results from bath bombs involves precise ratios, swapping water with witch hazel, stirring consistently while including wet elements and discarding food coloring. Polysorbate 80 as well as kaolin clay can be included in your formula. By keeping these things in mind you can make fabulous baths bombs every time.
How long do bath bombs last?
When it comes to bath bombs, they typically remain viable for about half a year. There are ingredients that can cause mold growth. It’s important to check the expiry date of your products and discard them if necessary in order not only maintain quality but also protect against potential health hazards. Keeping track of expiration dates within the one-year range is essential as well.
Can I use household items as bath bomb molds?
You can create makeshift bath bomb molds using everyday objects like muffin tins, measuring cups, and ice cube trays. These skitchen items make the perfect tools for crafting your own luxurious homemade bath bombs.
What can I do if my bath bombs are crumbling?
To prevent crumbling, try adding more liquid to the mixture or packing it more firmly into the mold.
For further reading:
Using Citric Acid in Your Soap Making
The Versitile World of Citric Acid

About the Editor
About the Chef Edmund: Chef Edmund is the Founder of Cape Crystal Brands and EnvironMolds. He is the author of several non-fiction “How-to” books, past publisher of the ArtMolds Journal Magazine and six cookbooks available for download on this site. He lives and breathes his food blogs as both writer and editor. You can follow him on Twitter and Linkedin.


|
About the Author Ed is the founder of Cape Crystal Brands, editor of the Beginner’s Guide to Hydrocolloids, and a passionate advocate for making food science accessible to all. Discover premium ingredients, expert resources, and free formulation tools at capecrystalbrands.com/tools. — Ed |
Related Posts
The Silent Architects: How Texture and Structure Decide When a Meal Feels Finished

When Food Tastes Fine But Still Feels Wrong
Hydrocolloid Rules of Thumb: Ratios, Mistakes & Fixes Chefs Use
Enjoyed this post? Subscribe to The Crystal Scoop
Food-science tips, ingredient know-how, and recipes. No spam—unsubscribe anytime.
- Choosing a selection results in a full page refresh.