
13 is Your Lucky Number: A Guide to Baking Success
SUBSCRIBE TO OUR BLOG
Promotions, new products, and recipes.
Why is 13 Considered Lucky in Baking Circles
Baking success is based both on art and science and the number 13. Let me explain. Thankfully, the number 13 is considered lucky (Antitriskaidekaphobic) in the context of baking, specifically as a "baker's dozen," which is more about practicality and fairness than traditional notions of luck. The term "baker's dozen" originated to ensure that customers received fair value for their money when purchasing baked goods. Here's why the number 13 became associated with luck in this context:
In historical times, bakers were subject to strict regulations and laws regarding the weight and pricing of their baked goods. They often faced penalties if they were found to be shortchanging customers by providing underweight products. Due to the nature of the baking process, there could be variations in the weight of the final baked items.
To ensure that customers received the full value of what they were paying for, bakers would often add an extra item to a dozen. This extra item was a form of insurance against potential weight loss or measurement discrepancies during baking. By providing thirteen items instead of twelve, bakers aimed to guarantee that customers were getting their money's worth.
So, the notion of luck in this context is tied to the idea that customers were fortunate to receive a little more than they paid for due to the inclusion of the extra item. It's a pragmatic approach to maintaining trust with customers and ensuring fair business practices.
In summary, the luck associated with the number 13 in baking is less about mystical beliefs and more about the historical practice of providing an extra item to ensure fairness and value for customers in a trade where precise measurements were crucial.
Now that we've explored the history and significance of a "baker's dozen," let's shift our focus to some practical tips that can help you become a more skilled and successful baker. Whether you're a beginner or an experienced baker looking to fine-tune your techniques, these 13 tips will guide you toward creating delicious and beautifully baked treats.
Our 13 Baking Tips
Improving your baking skills takes practice, patience, and attention to detail. Here are 13 important tips to help you enhance your baking abilities:
- Read and Understand Recipes Thoroughly: Recipes are like roadmaps for your baking journey. Reading the recipe from start to finish allows you to mentally prepare and ensure you have all the necessary ingredients and equipment. Understanding each step helps you anticipate techniques and timings, reducing the likelihood of mistakes or surprises.
- Measure Accurately: Baking is a precise science, and accurate measurements are vital for consistent results. Use a digital kitchen scale for dry ingredients like flour and sugar, as the density can vary. For liquids, use clear measuring cups designed for liquids, and ensure the measurement is at eye level for accuracy.
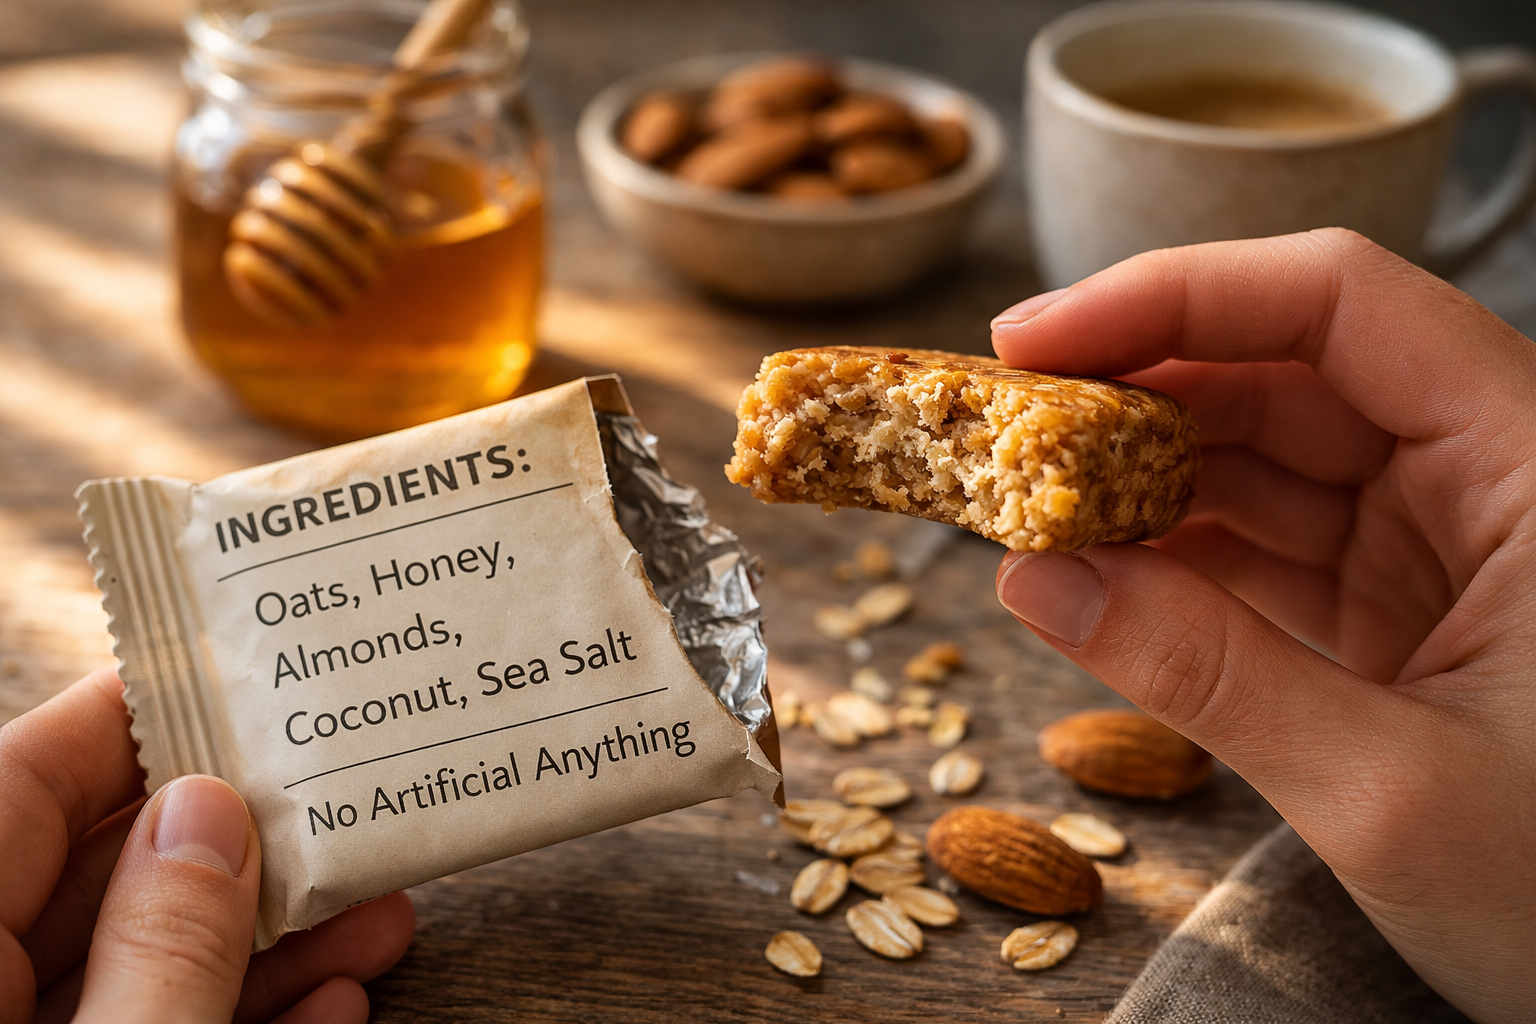
- Use Quality Ingredients: The old adage "you get out what you put in" holds true in baking. High-quality ingredients, like fresh eggs, real butter, and premium flour, contribute to better taste and texture. Avoid using expired ingredients as they can negatively affect the final outcome.
- Room Temperature Ingredients: Certain ingredients like butter, eggs, and dairy products blend better when at room temperature. Cold ingredients might not incorporate evenly into the batter, potentially leading to uneven textures in your baked goods.
- Preheat Your Oven: Preheating your oven is crucial because it ensures that your baked goods start cooking at the correct temperature immediately. This promotes even rising and browning, preventing uneven results.
- Invest in Quality Bakeware: Choosing well-made bakeware is an investment in your baking success. Quality bakeware heats evenly, preventing burnt spots or undercooked centers. Non-stick surfaces help with easy release and cleanup.
- Use an Oven Thermometer: Ovens can have temperature inconsistencies, and relying solely on the dial setting might lead to inaccurate baking. An oven thermometer helps you verify and adjust the actual temperature to match the desired baking temperature.
- Don't Overmix: Overmixing batter can lead to gluten overdevelopment, resulting in dense, tough textures. Mix just until the ingredients are combined to maintain a tender crumb.
- Learn About Important Substitutions: Being able to know what to substitute for dietary considerations is important to accommodate various needs and preferences without compromising flavor, texture, or nutritional value in your recipes. As examples:
When using gluten-free flours, keep in mind that they have different textures, absorption rates, and flavors compared to traditional wheat flour. Experimentation and blending different flours often yield the best results, as it can help balance out their individual characteristics and provide better overall performance in recipes.
- Follow Timings Closely: Baking times are crucial for achieving the right texture and flavor. Ovens can vary, so keep a close eye on your treats as they approach the recommended time. Visual cues like golden brown color and a slightly firm touch can help determine doneness.
- Practice Patience: Allowing baked goods to cool properly before cutting or frosting is essential. Cooling helps set the structure and prevents items from falling apart. Rushing can lead to a mess or negatively impact taste and texture.
- Experiment with Small Batches: When trying new recipes or techniques, starting with small batches minimizes waste if the outcome isn't as expected. It also gives you the chance to adjust and perfect before scaling up.
- Document Your Results: Keeping a baking journal helps you track what works and what doesn't. Note adjustments you make, such as ingredient substitutions or baking times. Over time, you'll develop a valuable resource for improving your baking skills.
Remember, practice makes perfect in baking. Each tip builds upon the others, so don't hesitate to apply these principles, and refine your skills with every batch you create. Baking is both a skill and an art. Don't be discouraged by mistakes—learn from them and keep practicing. With time and dedication, your baking skills will undoubtedly improve.
Conclusion
In conclusion, the symbolism of the number 13 in the realm of baking, embodied by the "baker's dozen," goes beyond mere superstition. Rather, it is a testament to the historical diligence and commitment of bakers to provide their customers with fairness and value. This practice emerged as a pragmatic solution to ensure that patrons received their money's worth even amidst the potential weight variations inherent in the baking process.
As we've delved into the intriguing history of the "baker's dozen," we've also ventured into a realm of practicality and skill-building – the heart of successful baking. The 13 comprehensive tips provided here have been crafted to guide you through your culinary journey. From meticulously understanding recipes and mastering accurate measurements to utilizing quality ingredients and investing in reliable bakeware, these principles lay the foundation for creating delectable baked goods.
Venturing into the world of gluten-free baking, we explored the importance of leavening agents and the diverse array of gluten-free flours available. With these substitutions, those with dietary restrictions can enjoy the same culinary pleasures without compromise.
Furthermore, we highlighted the significance of adhering to baking times, practicing patience in the cooling process, and experimenting with small batches for novel recipes. The practice of documenting your baking journey in a journal serves as a tangible record of your progress, facilitating continuous growth and refinement.
In every step of your baking adventure, remember that excellence comes through practice, adaptation, and an unwavering dedication to improvement. Mistakes are stepping stones toward mastery, and every confection you create is a canvas for creativity and learning. With these tips and your passion for the craft, your journey to becoming a proficient and confident baker is bound to be both fulfilling and delicious.
Was this article helpful? Please share with us in the comments section below!


|
About the Author Ed is the founder of Cape Crystal Brands, editor of the Beginner’s Guide to Hydrocolloids, and a passionate advocate for making food science accessible to all. Discover premium ingredients, expert resources, and free formulation tools at capecrystalbrands.com/tools. — Ed |
Related Posts
When Clean Labels Still Produce Unsettling Food
The Texture Gap: Why Homemade Food Feels Different Than Packaged Food
Hydrocolloids Explained: Food Gums, Gels and Texture
Enjoyed this post? Subscribe to The Crystal Scoop
Food-science tips, ingredient know-how, and recipes. No spam—unsubscribe anytime.
- Choosing a selection results in a full page refresh.